

See more writing tips in Andi’s Attic >>
It’s been a long, long time since I started this series on self-publishing your own book. And since that time, I have put up two bonus video lessons so you can go step by step through the process. Those new video lessons almost make the whole “Let’s Write” writing tip category obsolete. However, maybe this lesson will be good for a brief overview, and then you can decide if you want to dig deeper or not.
Create a Front and Back Cover
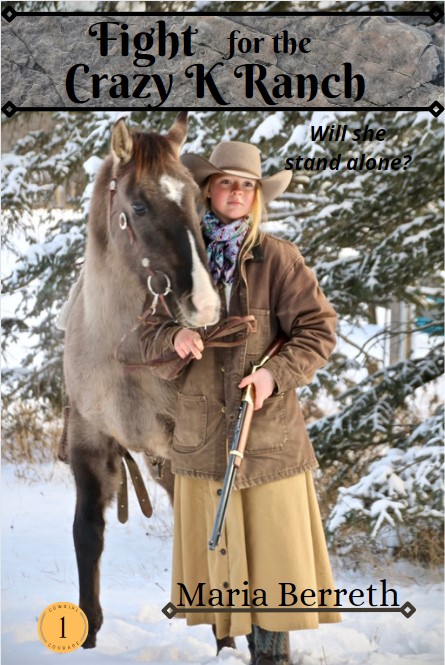
This is foremost on everyone’s minds these days. Creating a cover for your book is the most fun ever! I recommend the FREE photo editing online Canva.com >> You can play around with this program learning how to create a “size” (use pixels for your cover). For a 5.5″x8.5″ front cover, go with 1690 x 2622 pixels. This allows for the bleed and trim. Later, you will also create a back cover with the same pixel dimensions. Here are a few cover samples students in my Zoom class created. I didn’t even tell them the pixels, and many of them had never used Canva before. It took them no time to figure it out. And they clearly had a lot of fun.


Create a Cover Flat
Once you have your front and back covers, you have to wait a while. You won’t know how thick your book will be until you upload the interior pages to the printer. On Amazon, you can use a “cover template” if you know the number of pages. That template can be found here. KDP cover flat template >> They give the measurements, and you can then use the pixels (back on Canva) to make the wide cover flat. Then slip your covers onto the templates. The space between the covers is for your spine. You will write the name of your book on the spine and the author information. It will look something like this when it is finished.

On Lulu.com >> you upload your interior pages first and then they tell you the dimensions of your cover flat. Again, you download it and then upload it to Canva or copy the dimensions and make your own Canva template. The template you download also has the trim and “safe zones around it. Make sure your pictures and title, etc. stay within the safe areas.
If you would like this part 2 to be presented as a video lesson, head over here. It’s actually much easier for you to understand as you watch me go through each step. Create your cover and upload your book >> (watch the second video)
Since I have uploaded free videos that cover everything we talked about in the Let’s Write category, this post will be the final one. To watch the videos, go here >>


Those covers are awesome!
LikeLiked by 2 people
Thanks! (The Children’s Home one is mine. Well, my old one, that is.)
LikeLike
You have a new one?
LikeLiked by 1 person
Yes, I do. When I published TCH, I found a better stock photo and decided to ditch the (kinda illegible) cursive font. I chose a cursive font for my author name. When I get home, I’ll send a picture of the cover
LikeLiked by 1 person
Yes please!
LikeLike
Neat! Thanks for giving us tips. These will be very useful to me!!
LikeLiked by 1 person
Thx Mrs. M!
LikeLike
Hey, that’s my old cover!
Personally, I prefer my new one, but I gotta say, that was pretty good for a cover draft! 😀
LikeLike
Send me your new one and I’ll put it up. 😉
LikeLiked by 1 person
Ok! I’ll send a pic when I get home!
LikeLiked by 1 person
Is Fight for Crazy K Ranch and Orphan Outlaw in a series? The authors have the same last name and one book has a “1” on it and the other has a “2”
LikeLike
Yes! The two sisters attended my Zoom writing class last fall and decided to write a series together, each writing a different book in the series.
LikeLike
You said two sisters wrote a series. So these are real books and not just cover drafts?
LikeLiked by 1 person
Absolutely! They started their books last fall and I edited parts during different lessons. I’m not sure if they have finished them or not yet.
LikeLike
When is the Justin Carter character quiz?
LikeLike
I think it is in September, Brianna.
LikeLike
It should be on the Circle C timeline
LikeLike